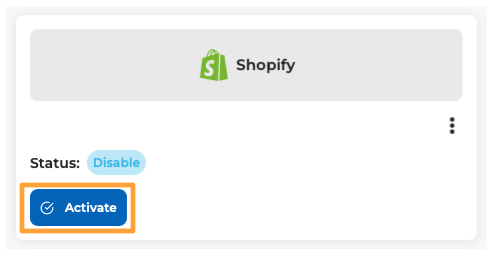
After connecting your Shopify shop, we will click on the ‘activate’ button that appears in the shop and a box will appear to define how orders will be approved and to configure payments.
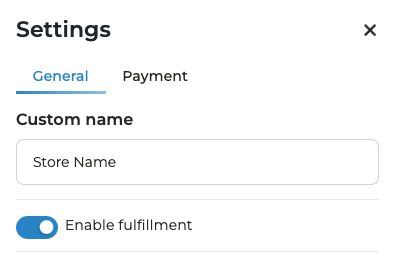
Activate "Enable fulfillment"
The first thing you need to do is to activate the "Enable fulfillment" option. This allows you to update the tracking number in Shopify.
Marking orders for shipment
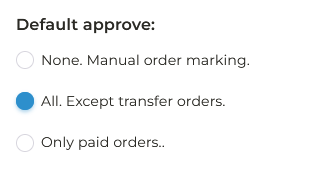
The order approval settings allow you to define when packages will start to be shipped to the warehouse after an order has been purchased in your store. That is why we find three options:
- None. Manual order marking: Orders will only be sent to be prepared when you manually mark your approval. Until you approve the order, the packages will not leave the warehouse. You should select this option if you want to confirm all orders in advance.
- All. except transfer orders: All the orders that are generated in your store will leave except the orders in which your payment method is by transfer. This option is ideal for you if you want your orders to start being prepared automatically, without the need to check to send each order manually. If the order has been placed by bank transfer, you will have to manually approve the order.
- Only paid orders: With this option you will only have to check to send manually the orders that are pending payment. This option is useful if, for example, you have as payment option Cash on Delivery (COD) or Cash on Delivery (COD). This way, you will automatically see the orders paid at the time of purchase and you will only have to approve the orders that have chosen COD as payment method, being able to confirm the purchase or the address beforehand.
If you have doubts about how to mark orders to start preparing them, you can read this article: Click here.
After selecting the option you want, click Continue.
Adding payments
In order to integrate your shop, you must first indicate the default payment method: ‘cash on delivery’, ‘paid orders’, etc...
After this, you must link the payment methods of your shop:
Paid orders
You should put all the automatic payment methods like Shopify Payments, Stripe, Card, among others. If you have several such methods, when you type one, press the enter key and it will let you continue adding.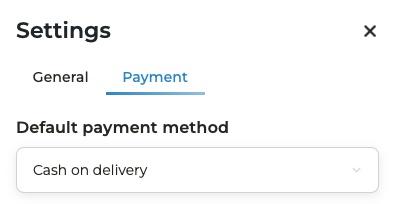 You can copy the text in this guide and paste into the Beeping platform each type of payment method from the list below:
-
Shopify Payments
-
Shopify_Payments
-
Paypal
-
Paypal express checkout
Avoid leaving spaces at the beginning or end of each payment method.
Bank transfer
- You can leave this field empty
Cash on Delivery.
If you have COD as an option, you can copy the text in this guide and paste the following text into the Beeping platform:
-
Cash on Delivery (COD)
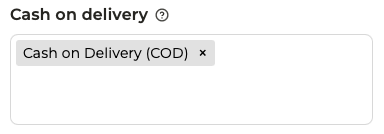
If you don't have any of the methods you can link, just leave the box blank.
It should be completed as follows:
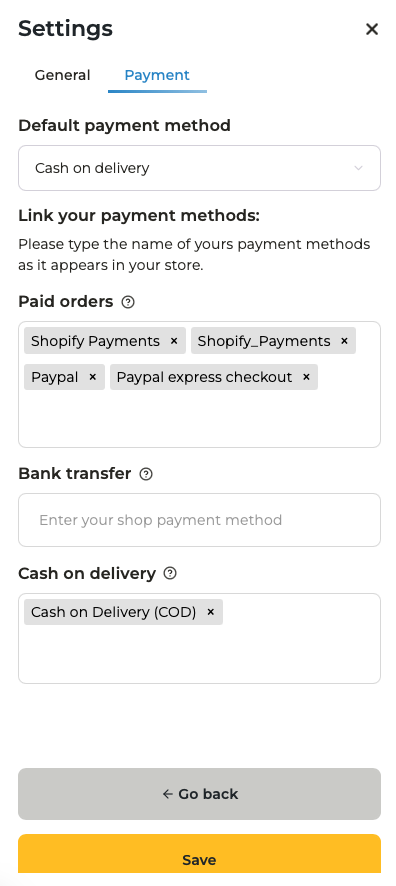
When you have added all the payment methods, click Save.
Import
If this is the first time you are managing the payment methods of the store, once you have added it, a new window will appear to import the orders.
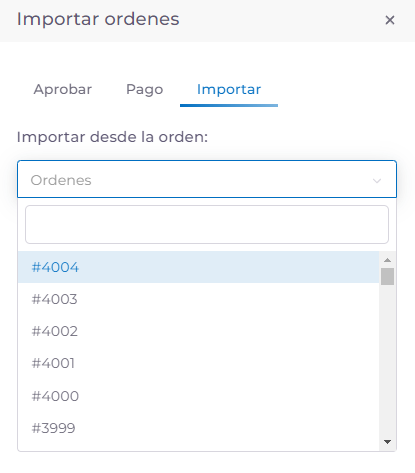
In this section you will have to indicate from which order you want to import, so that we can start preparing the packages from the order number you want.
Click on the drop-down menu and choose the desired number.
When you click on the number and click on Import, your store will be automatically activated and we will be ready to start working together.
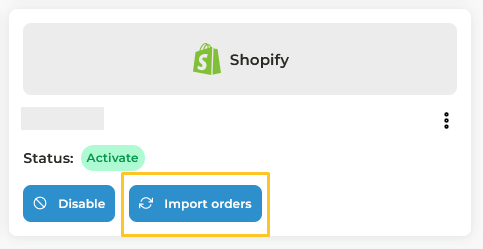
You can also import your orders by clickin on tis button:
What is the next step? The next step in the onboarding process is to create your store products in our system and synchronize them.