In the Orders section you will find all the orders that have entered your stores, which are automatically registered in the software.
At the top of this section you will find the Export button, which allows you to export all the orders that are registered; and the Create order button for those orders that you need to create manually.
You will also find a search bar, different filters to delimit the orders you want to be displayed and a settings button to configure the panel columns.

If you want more information about these functions, this article explains how to use them.
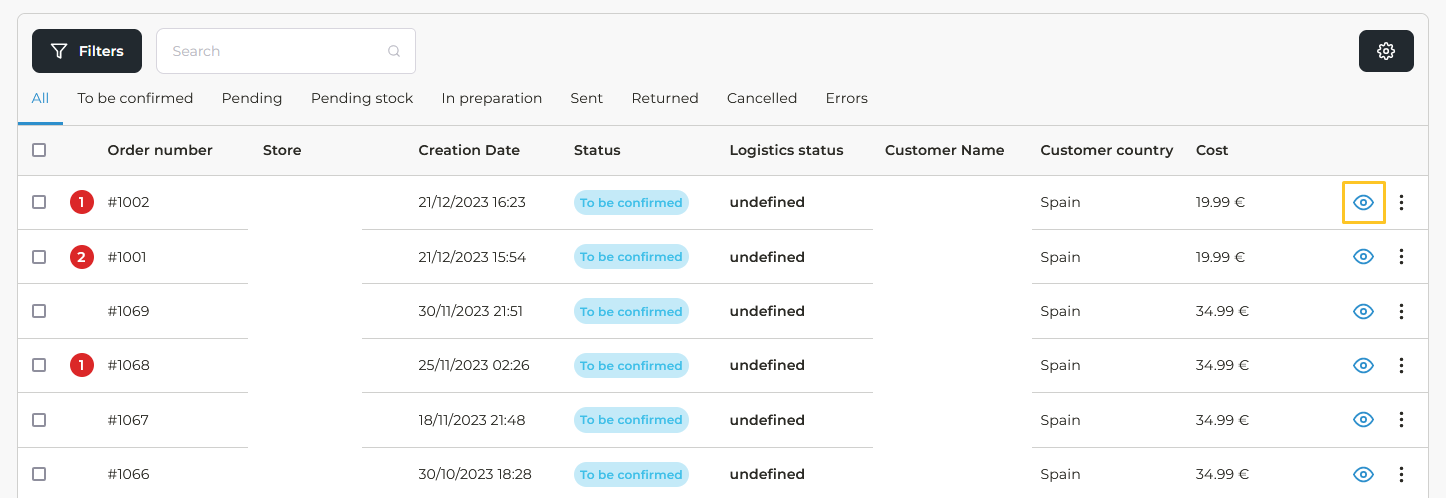
Below the filters, the table with all the orders of your stores is displayed. By default, the orders will be displayed in order of creation, so the last orders placed will be displayed first, i.e. the most recent ones.
The following information is displayed in this order table:
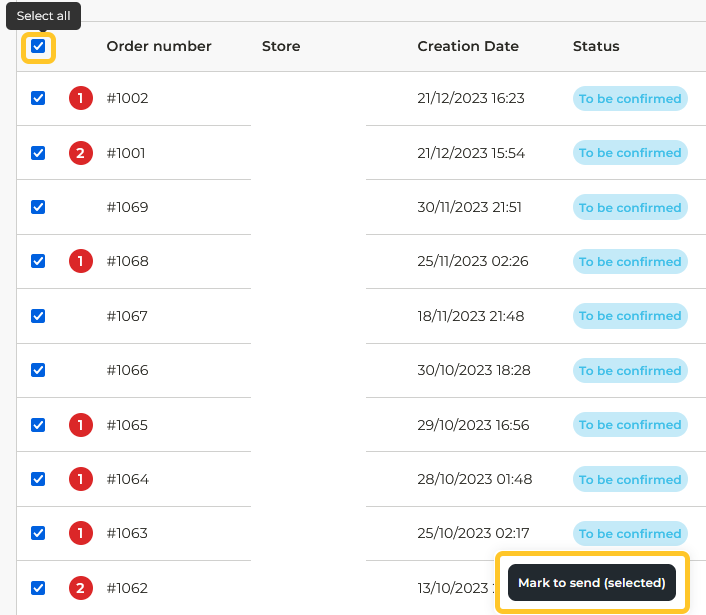
- On the left side of the table there are checkboxes that allow you to select orders to mark them for shipment. However, these checkboxes will only be displayed for orders whose status is To be confirmed. You will find this information further developed in our article on how to approve an order to start preparing it in this article.

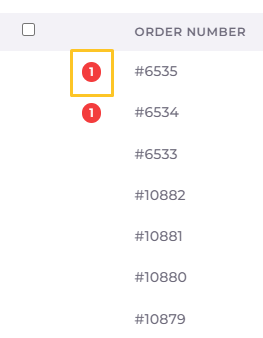
- If you see a red number next next to the order number, it means that there are unlinked items in that order. If you want to know how to fix this error, we explain how to do it in this article.

- Order number: Corresponds to the order number, which matches the order number of your Shopify or WooCommerce store.
- Store: Displays the store where the order has been placed.
- Creation date: Indicates the day and time the order was created.
- Status: Indicates the state in which the orders are in the preparation process of our warehouse. You can find out what each status means by reading this article.
- Logistics status: The logistic status, which is shown as Undefined by default, will be activated when the courier has the order, and will indicate where the package is in the last mile. You can check the different types of logistic status in this article.
- Payment method: Indicates the payment method selected by the customer when placing the order.
- Cost: Displays the total amount of the order.
- Options: In this column, on the right side of the order panel, appears the symbol of an eye, which you can click to see the order information in detail.

En algunos pedidos también aparecerán tres puntos, que te permitirán realizar una serie de acciones:
- Edit items.
- Edit shipping data.
- Edit payment method.
- Cancel the order.
- Mark to send.

You can find more information about how to view order information in this article. And if you want to know how to edit an order, you can find out in this other article.